acf domain was triggered too early. This is usually an indicator for some code in the plugin or theme running too early. Translations should be loaded at the init action or later. Please see Debugging in WordPress for more information. (This message was added in version 6.7.0.) in /var/www/vhosts/studiogo.tech/httpdocs/upcloudold/wp-includes/functions.php on line 6131all-in-one-wp-migration domain was triggered too early. This is usually an indicator for some code in the plugin or theme running too early. Translations should be loaded at the init action or later. Please see Debugging in WordPress for more information. (This message was added in version 6.7.0.) in /var/www/vhosts/studiogo.tech/httpdocs/upcloudold/wp-includes/functions.php on line 6131rocket domain was triggered too early. This is usually an indicator for some code in the plugin or theme running too early. Translations should be loaded at the init action or later. Please see Debugging in WordPress for more information. (This message was added in version 6.7.0.) in /var/www/vhosts/studiogo.tech/httpdocs/upcloudold/wp-includes/functions.php on line 6131
 March 29, 2019
If you need to manage multiple websites on a regular basis you’ve come to the right place! RunCloud is a great automated server management tool to wire in all your cloud servers. It makes installing websites and databases quick and convenient, enhances security, and automates updates.
In this tutorial, we’ll be showing how to connect your UpCloud server on RunCloud and configure your first web app. Follow along to get started with RunCloud!
First things first, if you have not yet registered on UpCloud, begin by getting signed up. Follow the link here to register an account and you’ll receive an extra €50 to get started.
Deploying a new server with UpCloud is an easy and straightforward process. To get started, log into your UpCloud control panel and Deploy a server under the Servers section.
The deployment page shows a number of options for customizing a new cloud server.
You can find more detailed instructions on server deployment at our newcomer’s tutorials.
Next, you’ll want to get registered on RunCloud
Create a new account by entering your name, email and setting a password. Once done, you’ll need to verify your email address and then you may log in.

Alternatively, you can also use some of your existing credentials like Google and GitHub.
RunCloud provides you with an easy-to-use control panel that offers one-click solutions to common tasks. Deploy straight from Git or script installation CMS like WordPress. Bootstrapping your cloud server with RunCloud gets you an optimised server stack with the best options around such as Nginx, Apache, Redis, MariaDB and Memcached.
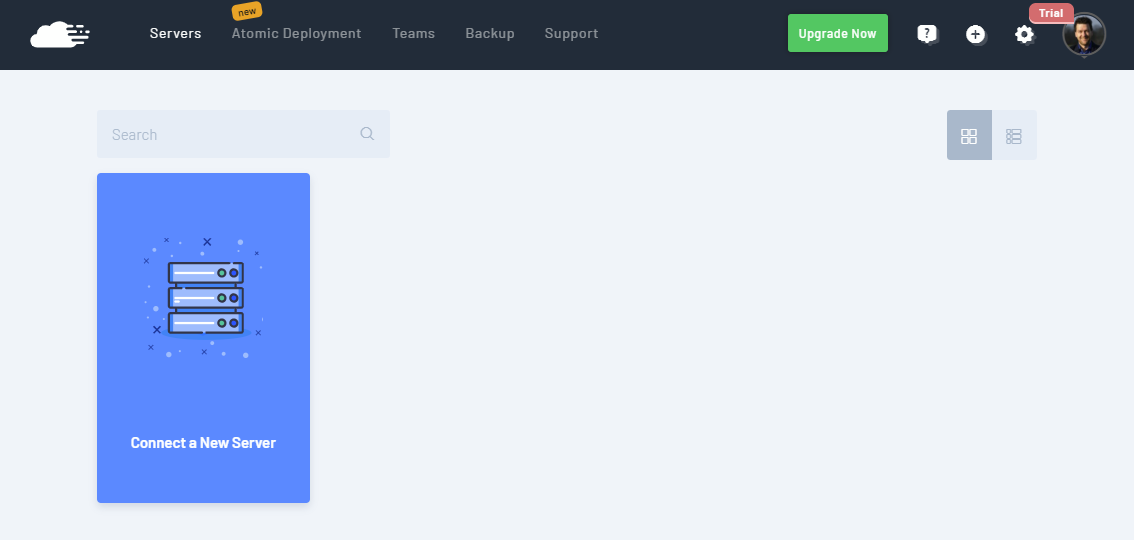
Once you’ve registered and confirmed your email address, log into your RunCloud account. You’ll be greeted by a clean dashboard and a link to connect to a new server. Click the large blue tile to begin.
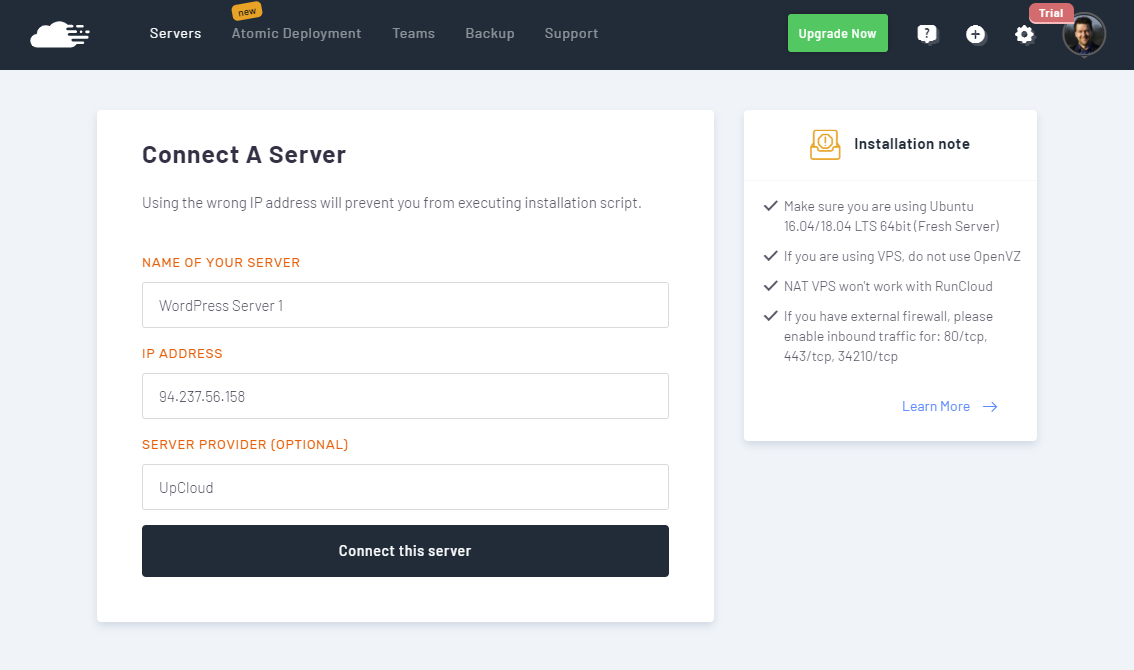
In the server connection settings, give your server a name you wish, enter the public IP address, set the provider, and finally click the Connect this server button. You can find your server IP at your UpCloud control panel.
Next, you’ll be presented with a bootstrapping script that you need to run on your cloud server. Log in to your cloud server over SSH using the root account with the password emailed to you or any SSH keys you might have included at deployment.
Check that the firewall on your cloud server needs to allow the following:
A clean install of Ubuntu 18.04 on UpCloud does not restrict these ports so you are good to go.
Then copy the script into your server terminal and run it.
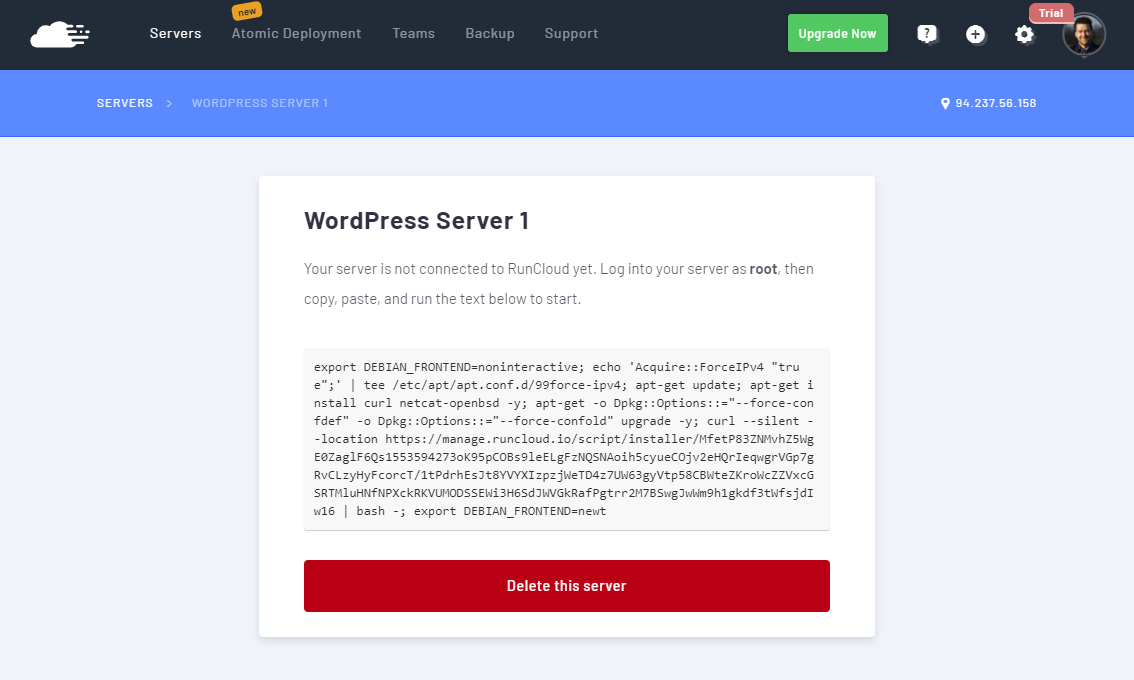
RunCloud will provision the server by installing the required dependencies as well as software and tools like Fail2ban, MariaDB, NGINX.
When the installation has finished, you’ll see an output like the example below. This will include your database root password, the newly created runcloud user account and password. You should save these somewhere secure.
################################################# # Finished installation. Do not lose any of the # data below. ################################################## MySQL ROOT PASSWORD: aODLZRJRqSrVnfA7ANZevW9l1Je5MatENBBEZ5WngGgAzbuGDI5uZy6 User: runcloud Password: b4q_qUXQENcr0_DS2xcUyOimUAU6bkeiZHqASuQHSmwi10eZVHTscWO You can now manage your server using https://manage.runcloud.io
Afterwards, you’ll be redirected to the server summary page which shows an overview of the server resource usage, uptime and installed applications.
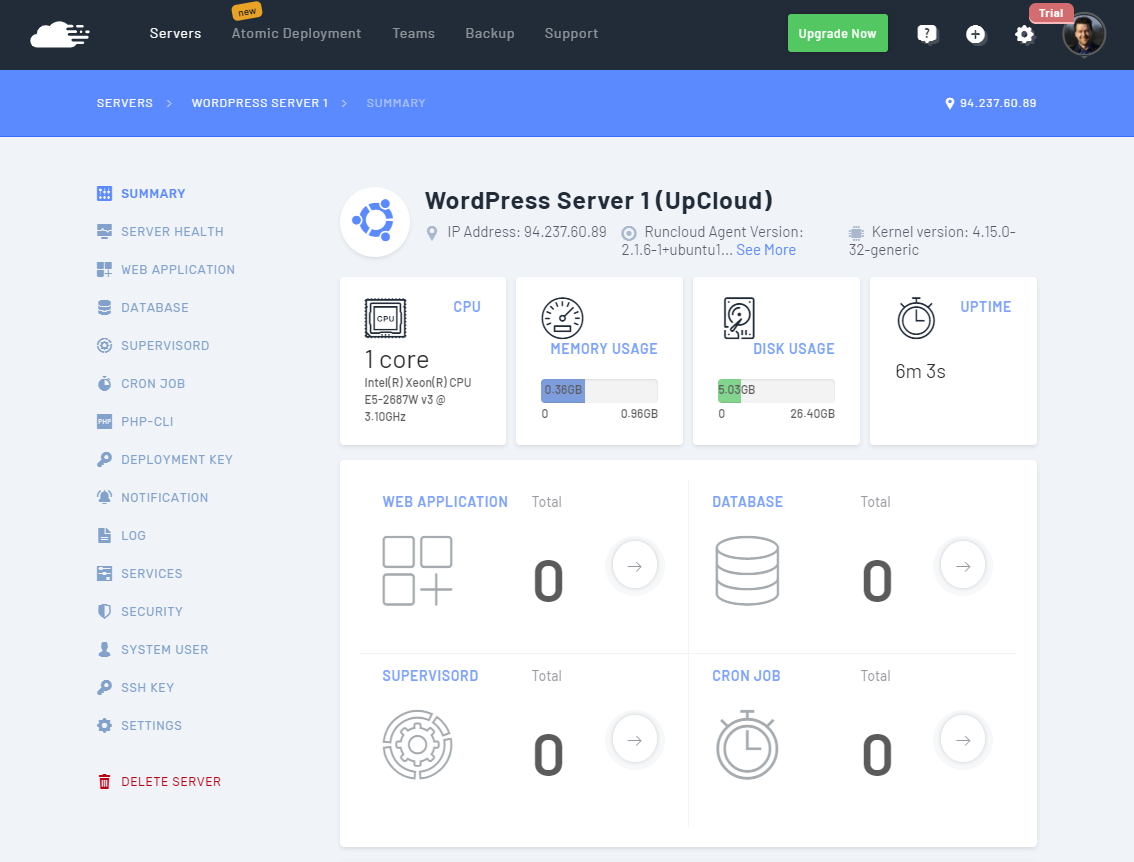
Your first server is now connected and manageable on RunCloud. Continue on with the tutorial to test the server by deploying a simple WordPress setup.
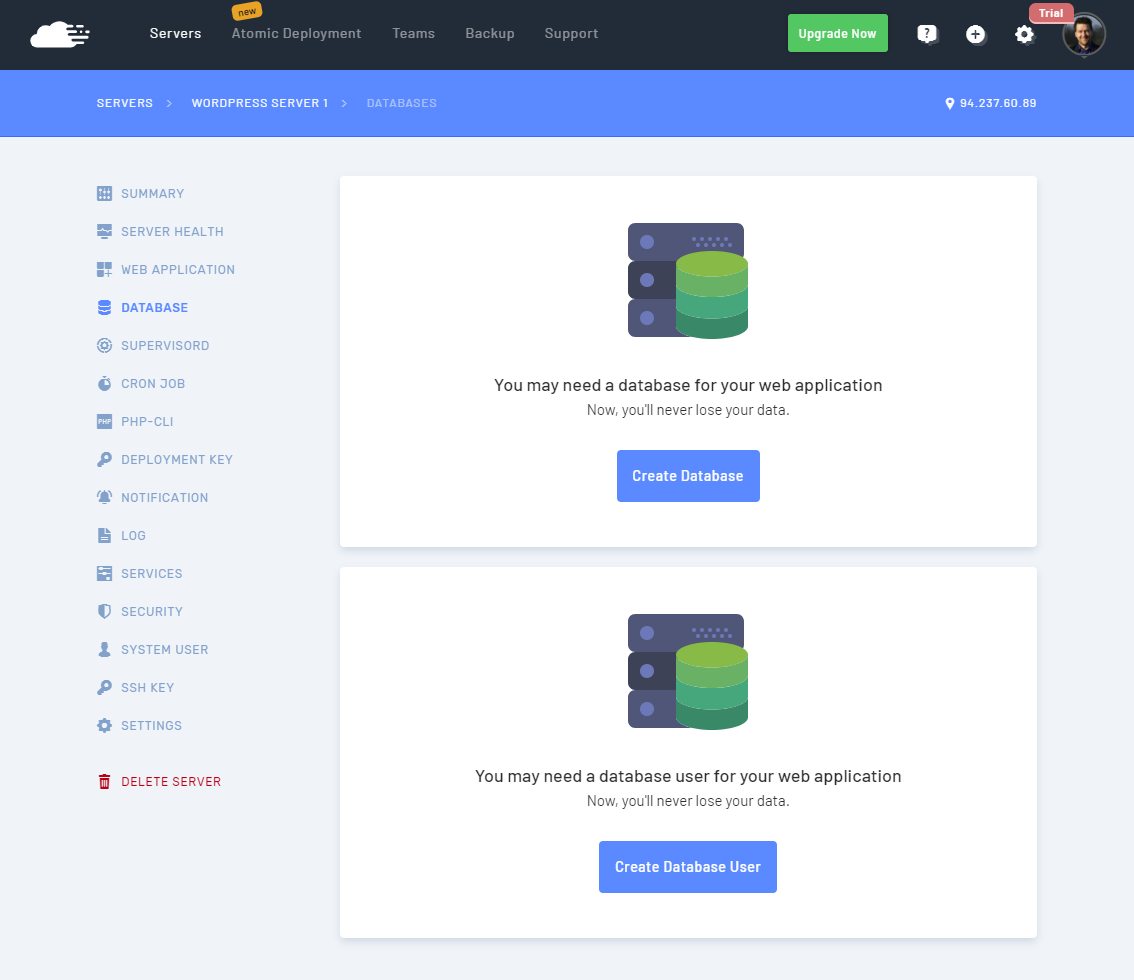
With your server connection, you are then ready to start deploying applications. For this example, we’ll be setting up a simple WordPress site which requires access to a database. RunCloud includes a secured installation of MariaDB which can be easily managed on their control panel.
Go to the Database view in your server management and click the Create Database button.
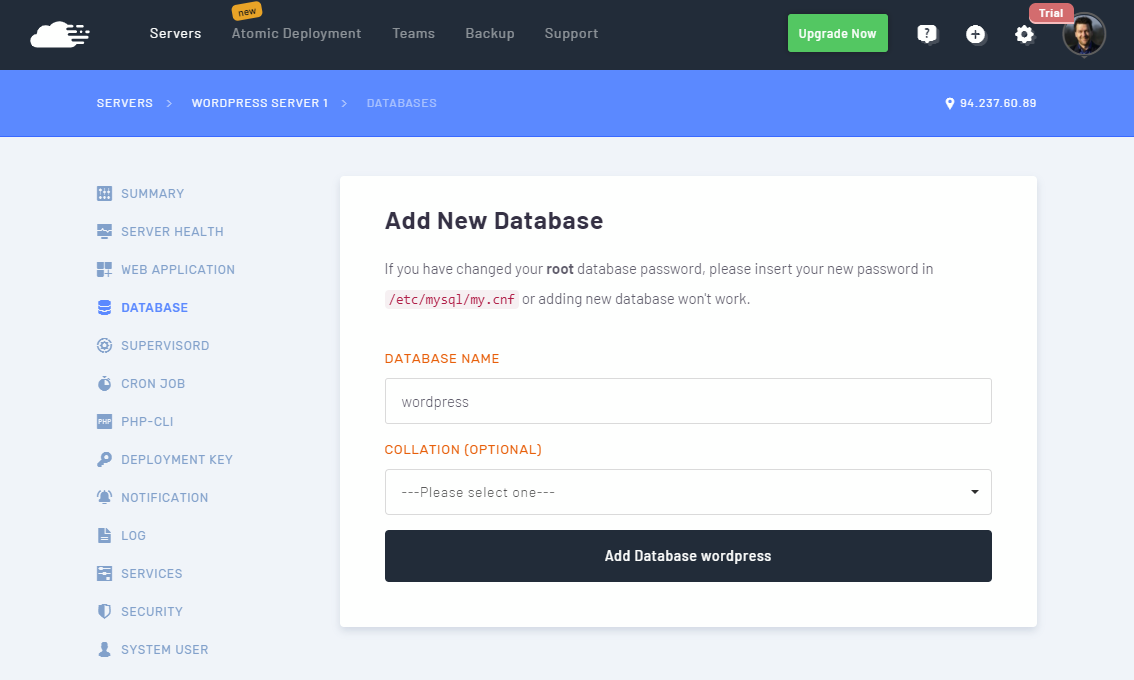
In the new database options, name the DB and click the button to Add Database.
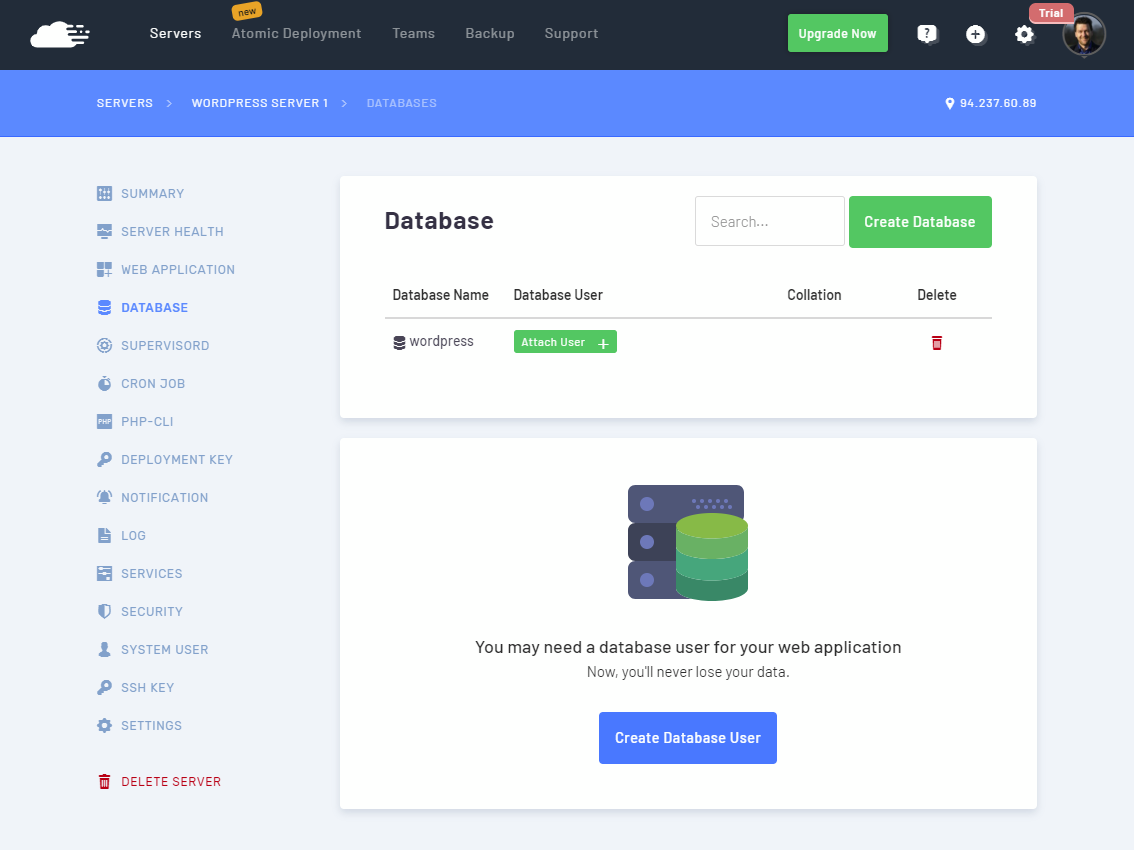
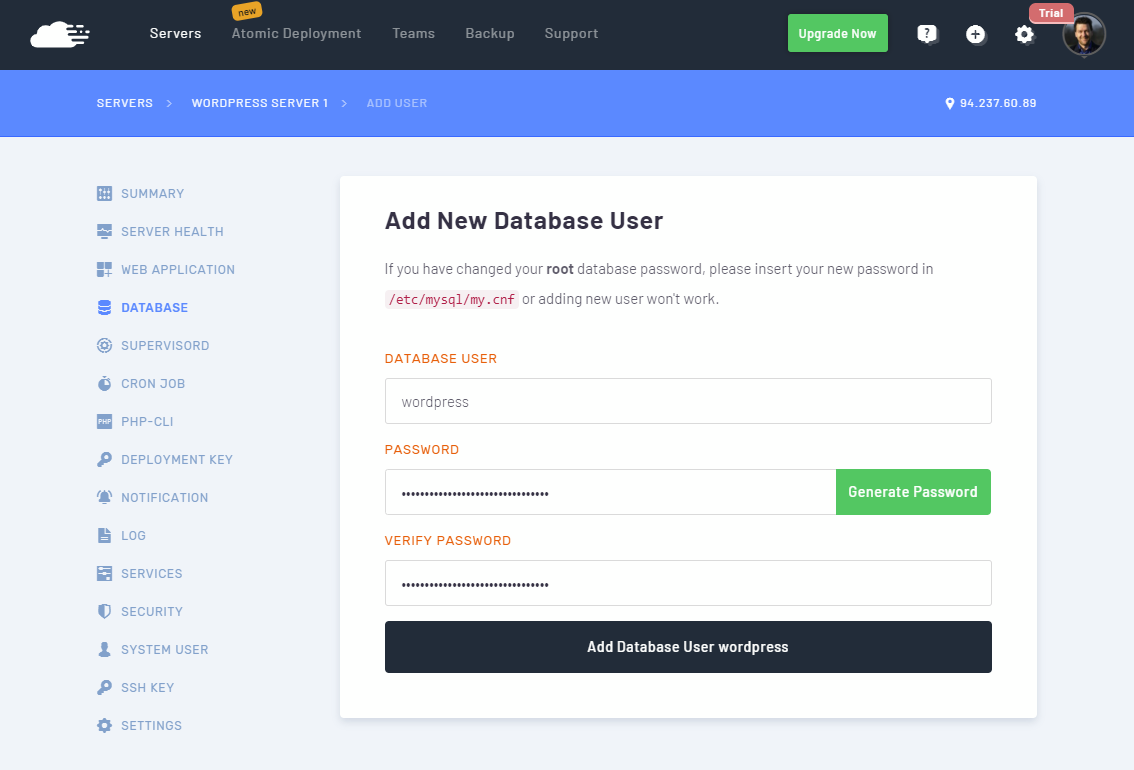
Next, click the Create Database User button to set up credentials for WordPress.
Name the user account and create a password. You can use the handy password generator to make this quick and easy. Make sure to save or copy the password somewhere convenient for later.
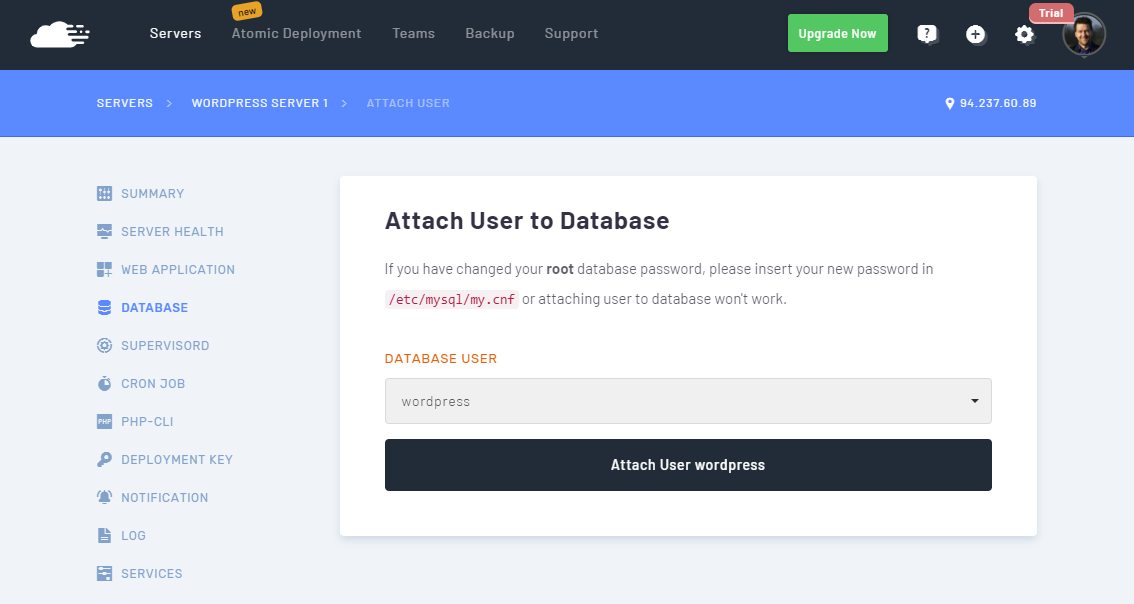
Then attach the new username in the WordPress database by clicking the Attach User button.
Finally, select the username you just created and include it in the WordPress database by clicking the Attach User button.
With that done, you have a database ready and configured for your first web application. Follow along below to continue with the WordPress deployment.
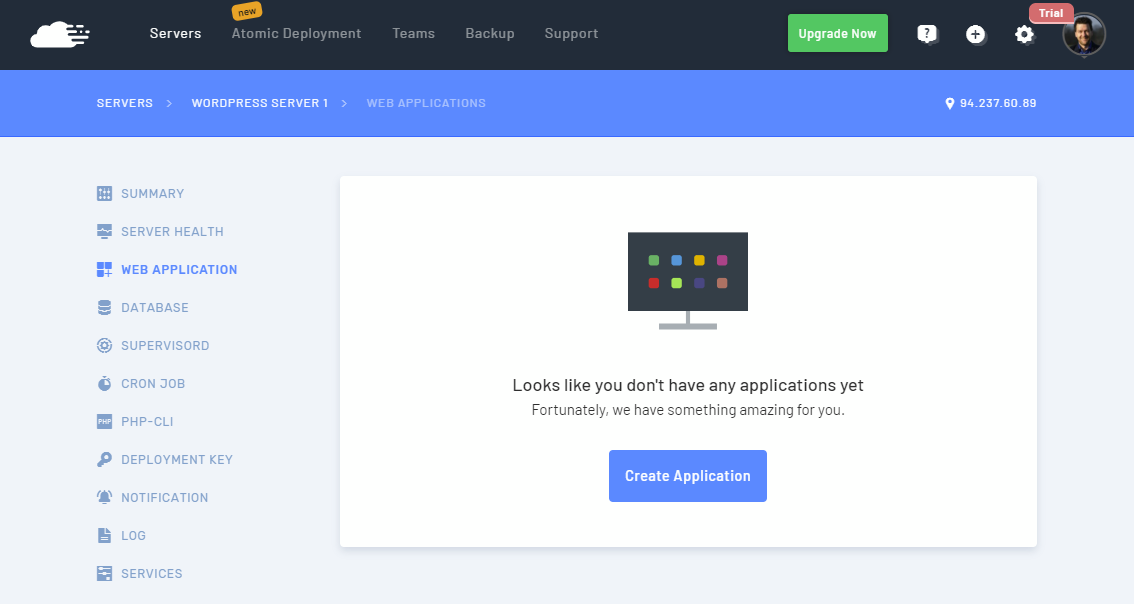
RunCloud allows you to quickly and easily create a number of web applications including Drupal, phpBB, and, of course, WordPress. In the Web Application section, click the Create Application button to get started.
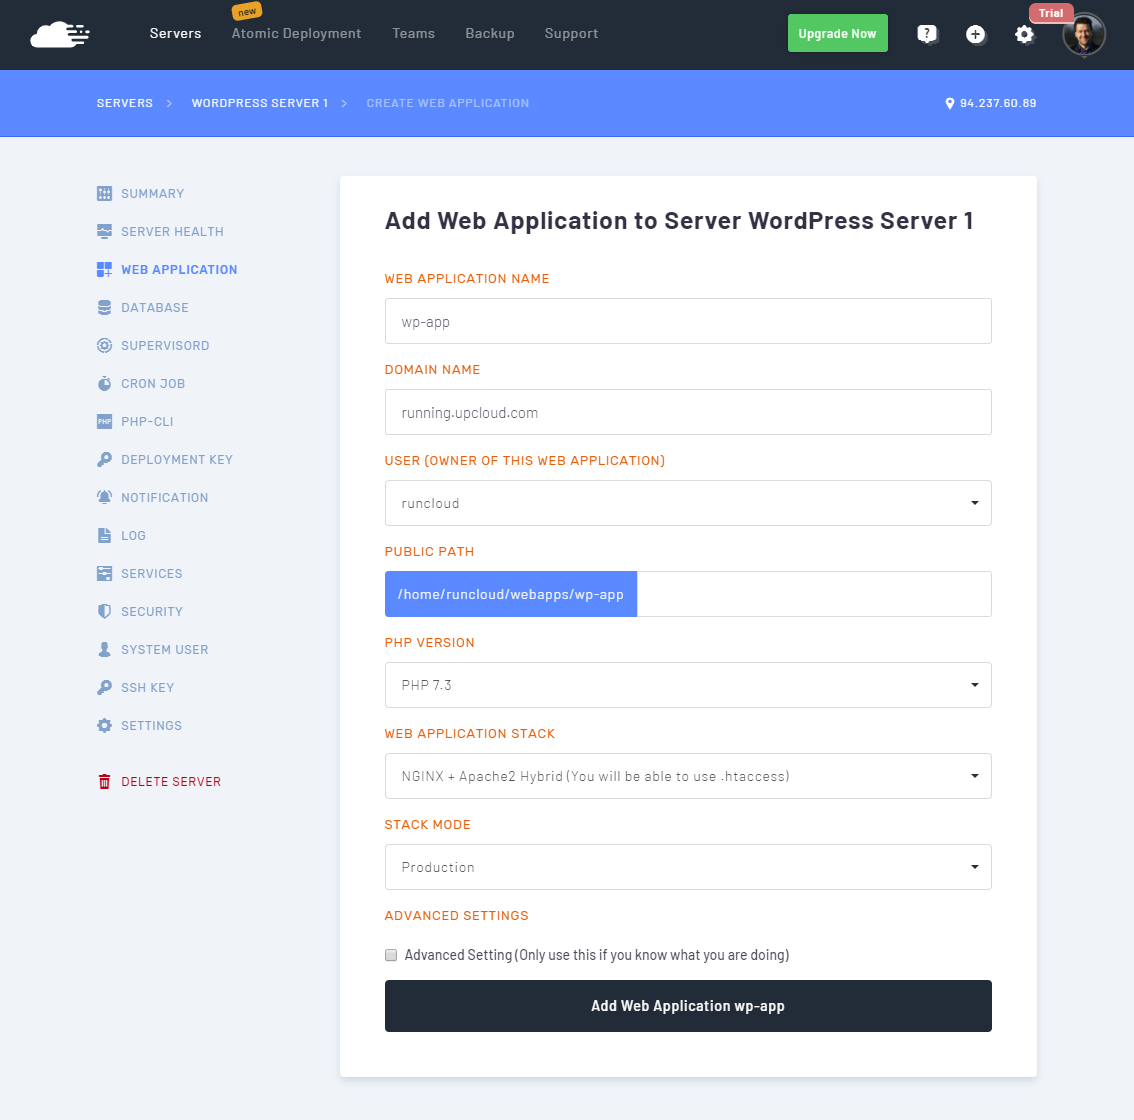
Give the web app a name, include a domain and pick a PHP version. Then click the Add Web Application button.
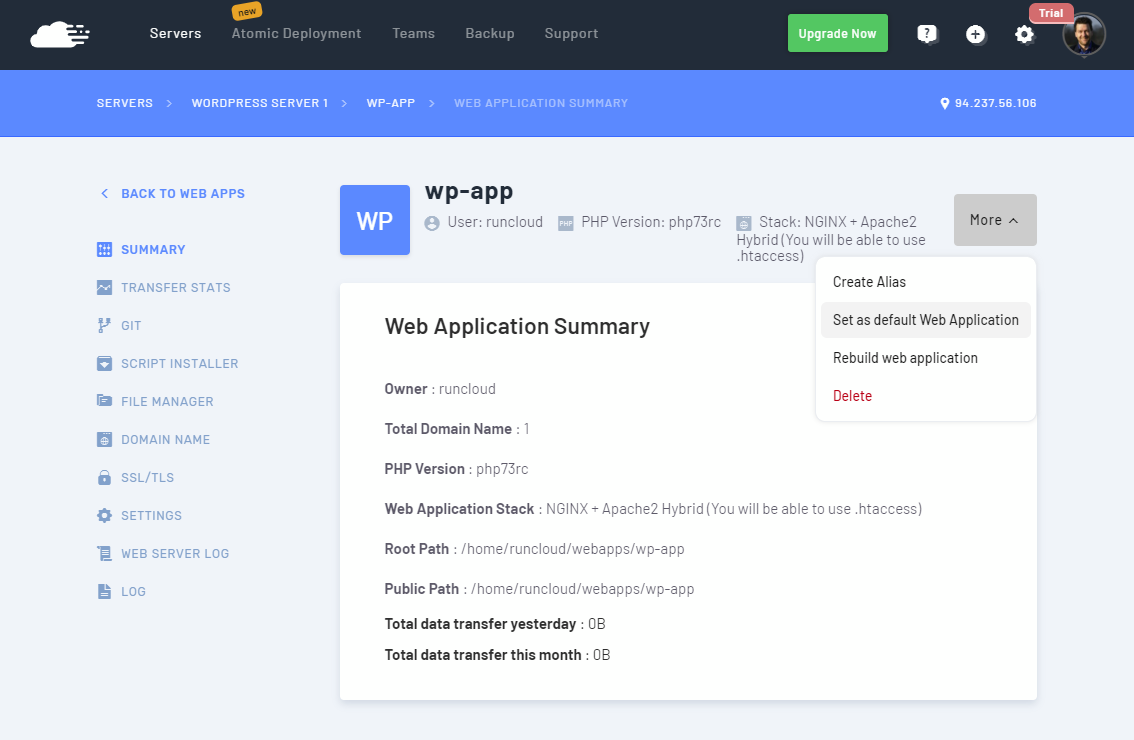
Once created, make the app the primary service on the server by opening the menu under More and clicking the Set as default Web Application option.
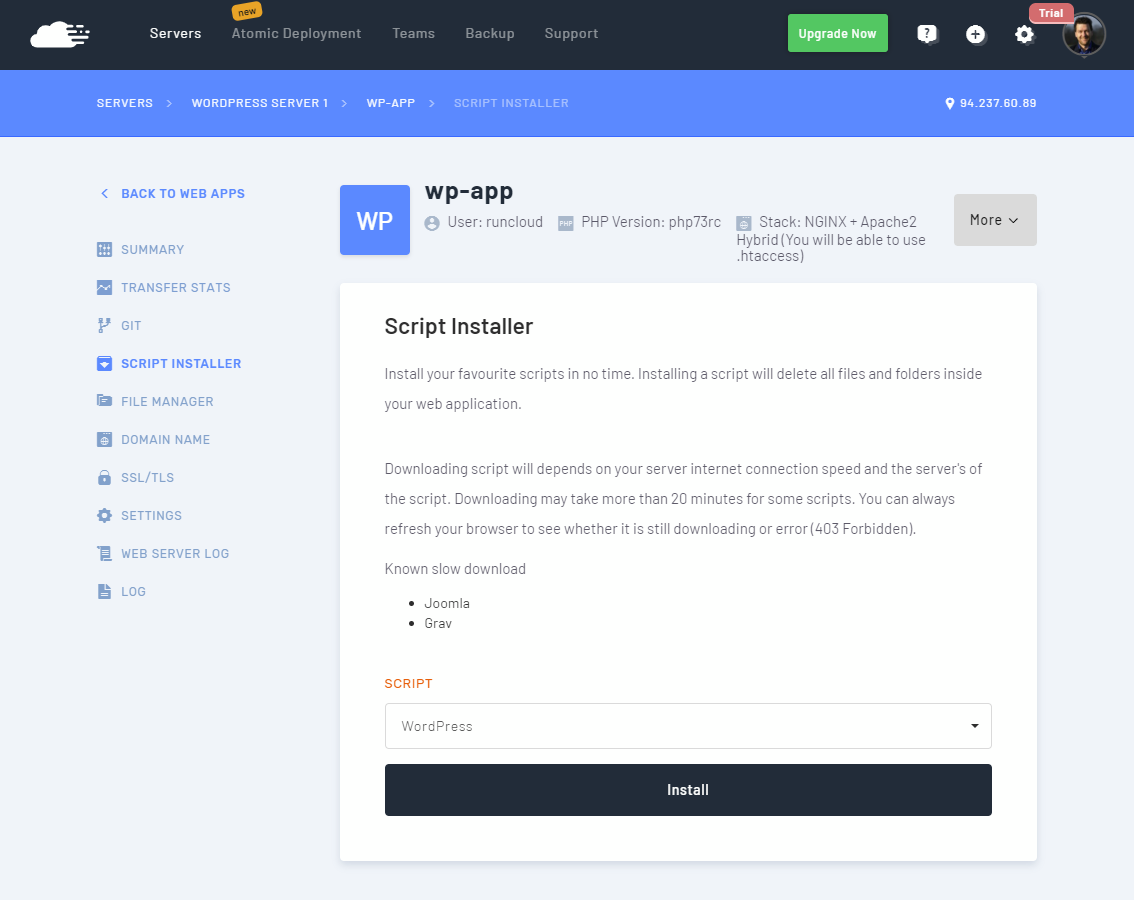
Then, install WordPress itself by using the ready-made script. Go to the Script Installer section and select the WordPress script. Then create the site by clicking the Install button.
That’s it, all done installing! You’ll still need to configure the WordPress site so check the last bit of this guide to get fully going.
Now it’s finally time to see all the configurations come together. Open the public IP of your cloud server in a web browser to finalize the WordPress installation, for example:
You can find the public IP again at your UpCloud control panel.
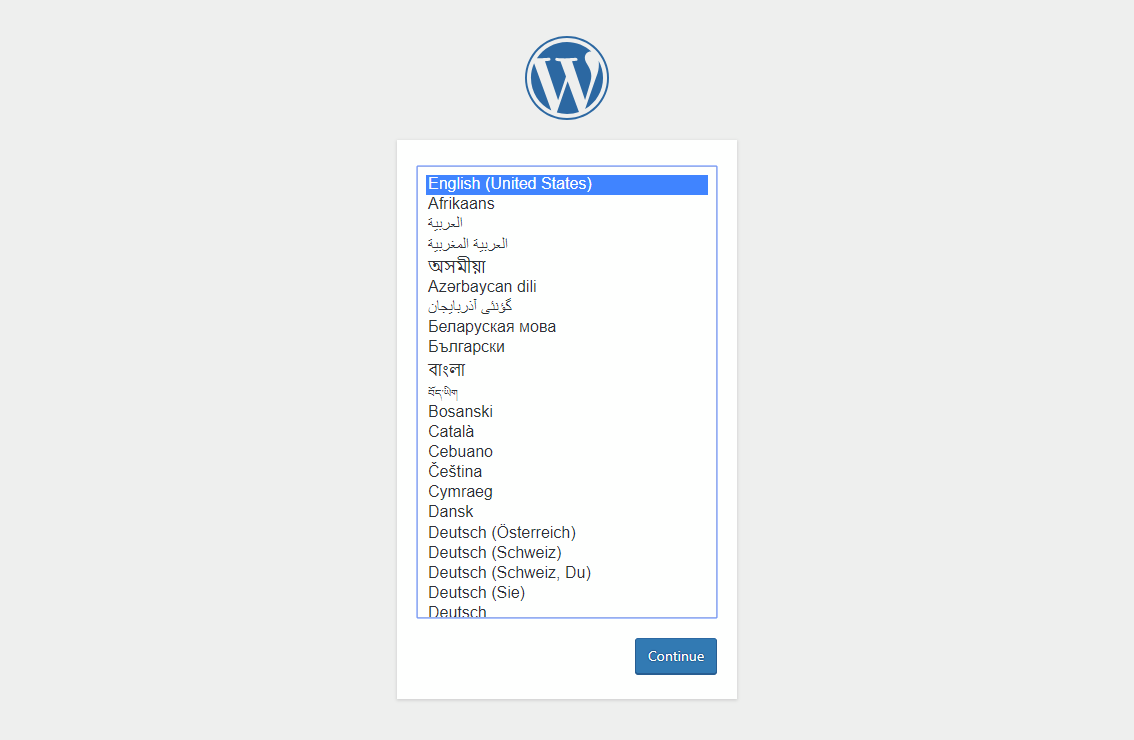
On the configuration page, pick your language and click Continue.
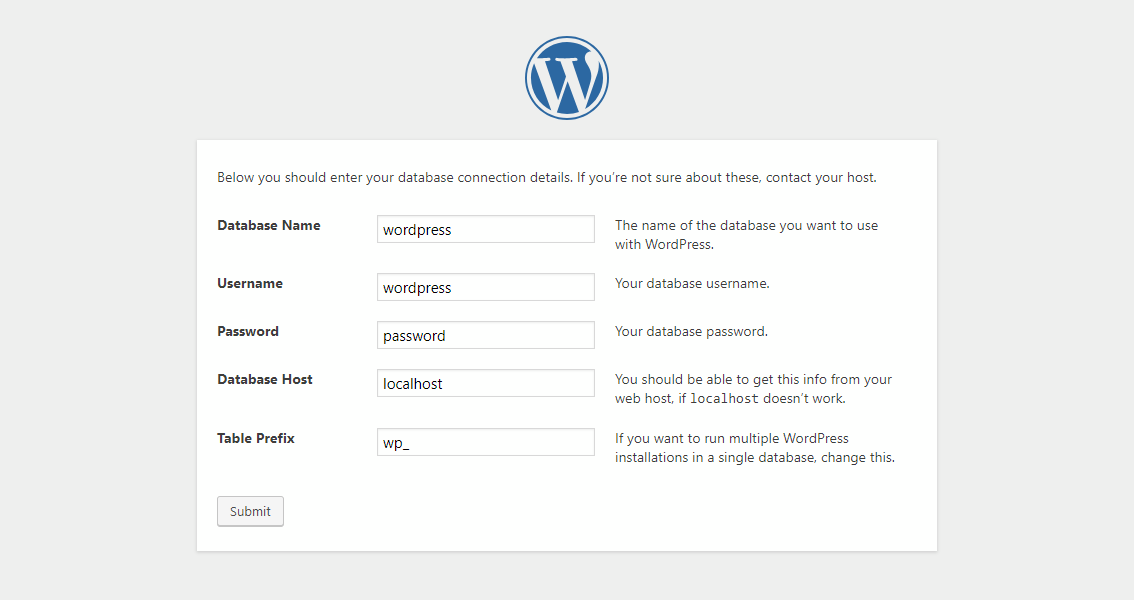
Next, enter your WordPress database credentials as you created them on RunCloud.
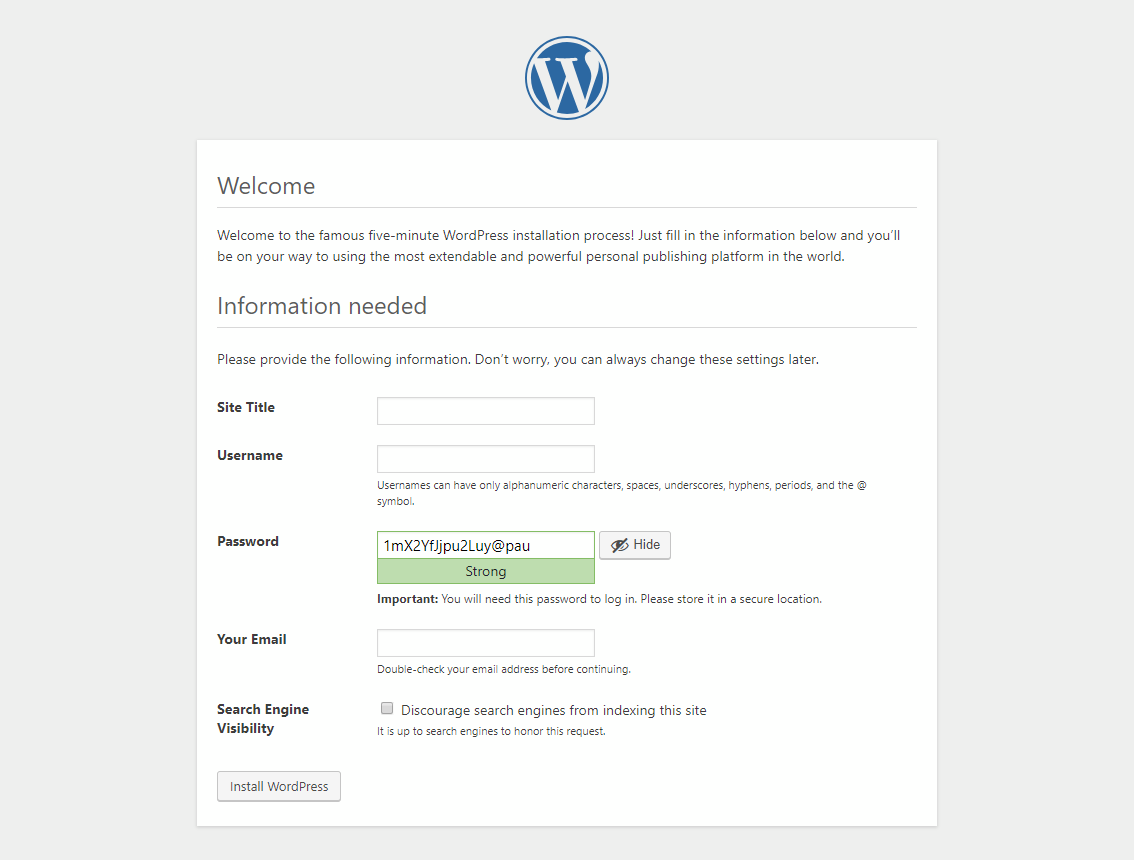
Then configure your new WordPress site as normal.
Congratulations, you have now completed the WordPress install!
RunCloud offers more than just a website management platform. They provide free SSL/TLS using Let’s Encrypt, sandboxed web applications, Nginx or Hybrid web application stacks, website monitoring and notifications, automated web application deployment using your Git repository, Atomic Git deployment, and more. You’ll find all the tools you need for professional web design and development on RunCloud.


I think you need to update this tutorial as UC servers can now be created directly using Runcloud. Question: If using the Runcloud ‘direct VPS creation’ feature to setup a new UC VPS obviously Runcloud do I then still need to change the root password on the server through SSHing into the server manually afterwards as normally recommended for security purposes ? Wont such practice break the Runcloud connection to the server?
Clean install of Ubuntu does restrict 34210/tcp
Hello Janne
Thanks a lot for this details tutorial, it helped a lot to me for installing wp with runclound.
Thank you so much once again.
Hi there, thanks for the question. RunCloud uses SSH keys to connect to the Cloud Server and therefore changing the password is still recommended. For the best security, you can add your own SSH keys either using RunCloud’s SSH key vault or by adding the key manually and then disabling the password login altogether.
Hi there, thanks for the comment. Our Ubuntu template itself should not have an active firewall by default but the port in question is restricted during the free trial. You can, of course, upgrade to a full account by making a one-time minimum payment of $10 with a 30-day money-back guarantee.